
See Why is the buyer nickname missing? for which orders include nicknames. If yours don't, three methods can supplement the nickname locally on your computer with your authorization (never through our servers, and only for printing tickets of your own stores).
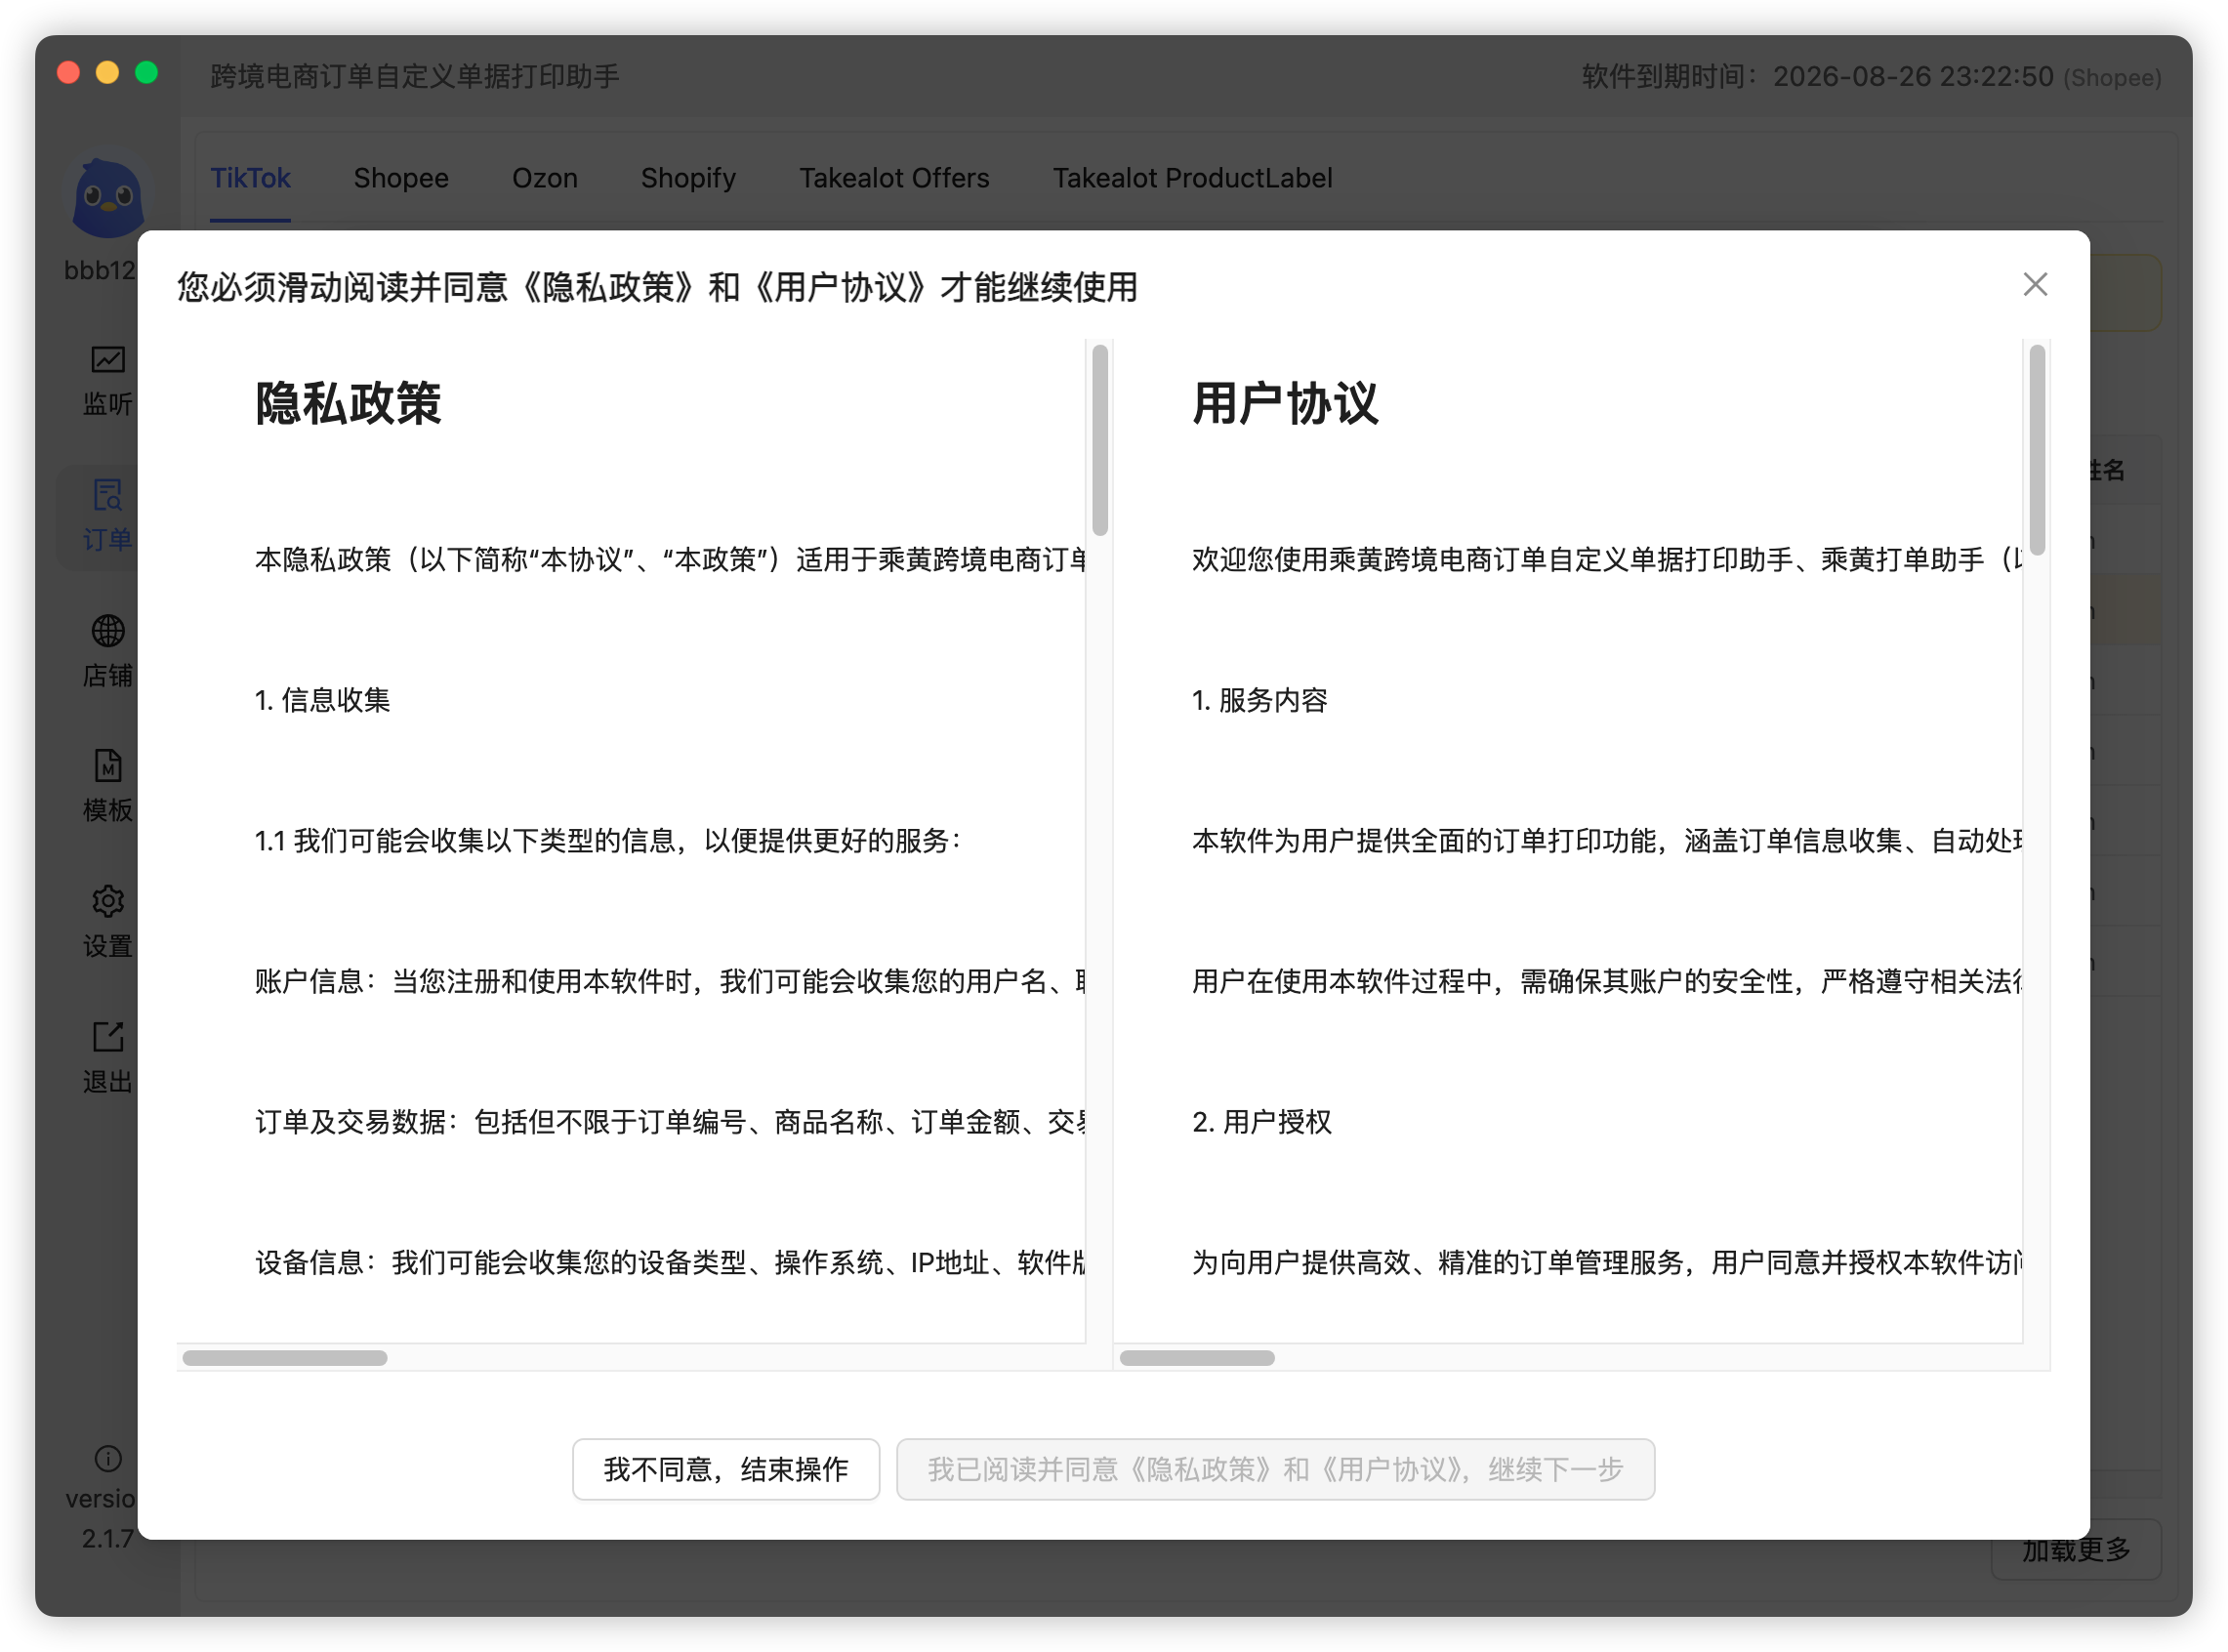
Which method to choose?
- Google Chrome authorization: easiest to set up, non-intrusive while printing; downside — the login state may be lost from time to time;
- Ziniao (SuperBrowser): thanks to its automation login, set once and use long-term; downsides — complex initial setup and forced popups while printing (we recommend running Ziniao and the app inside a Windows VM so your main computer is unaffected);
- Browser Extension: combines both advantages — non-intrusive and no re-login since it uses your daily browser; works on all Chromium-based browsers (Chrome, Edge, Ziniao, AdsPower, etc.); the first-time setup is slightly tedious.
Method 1: Google Chrome authorization
Use genuine Chrome installed from the official site.
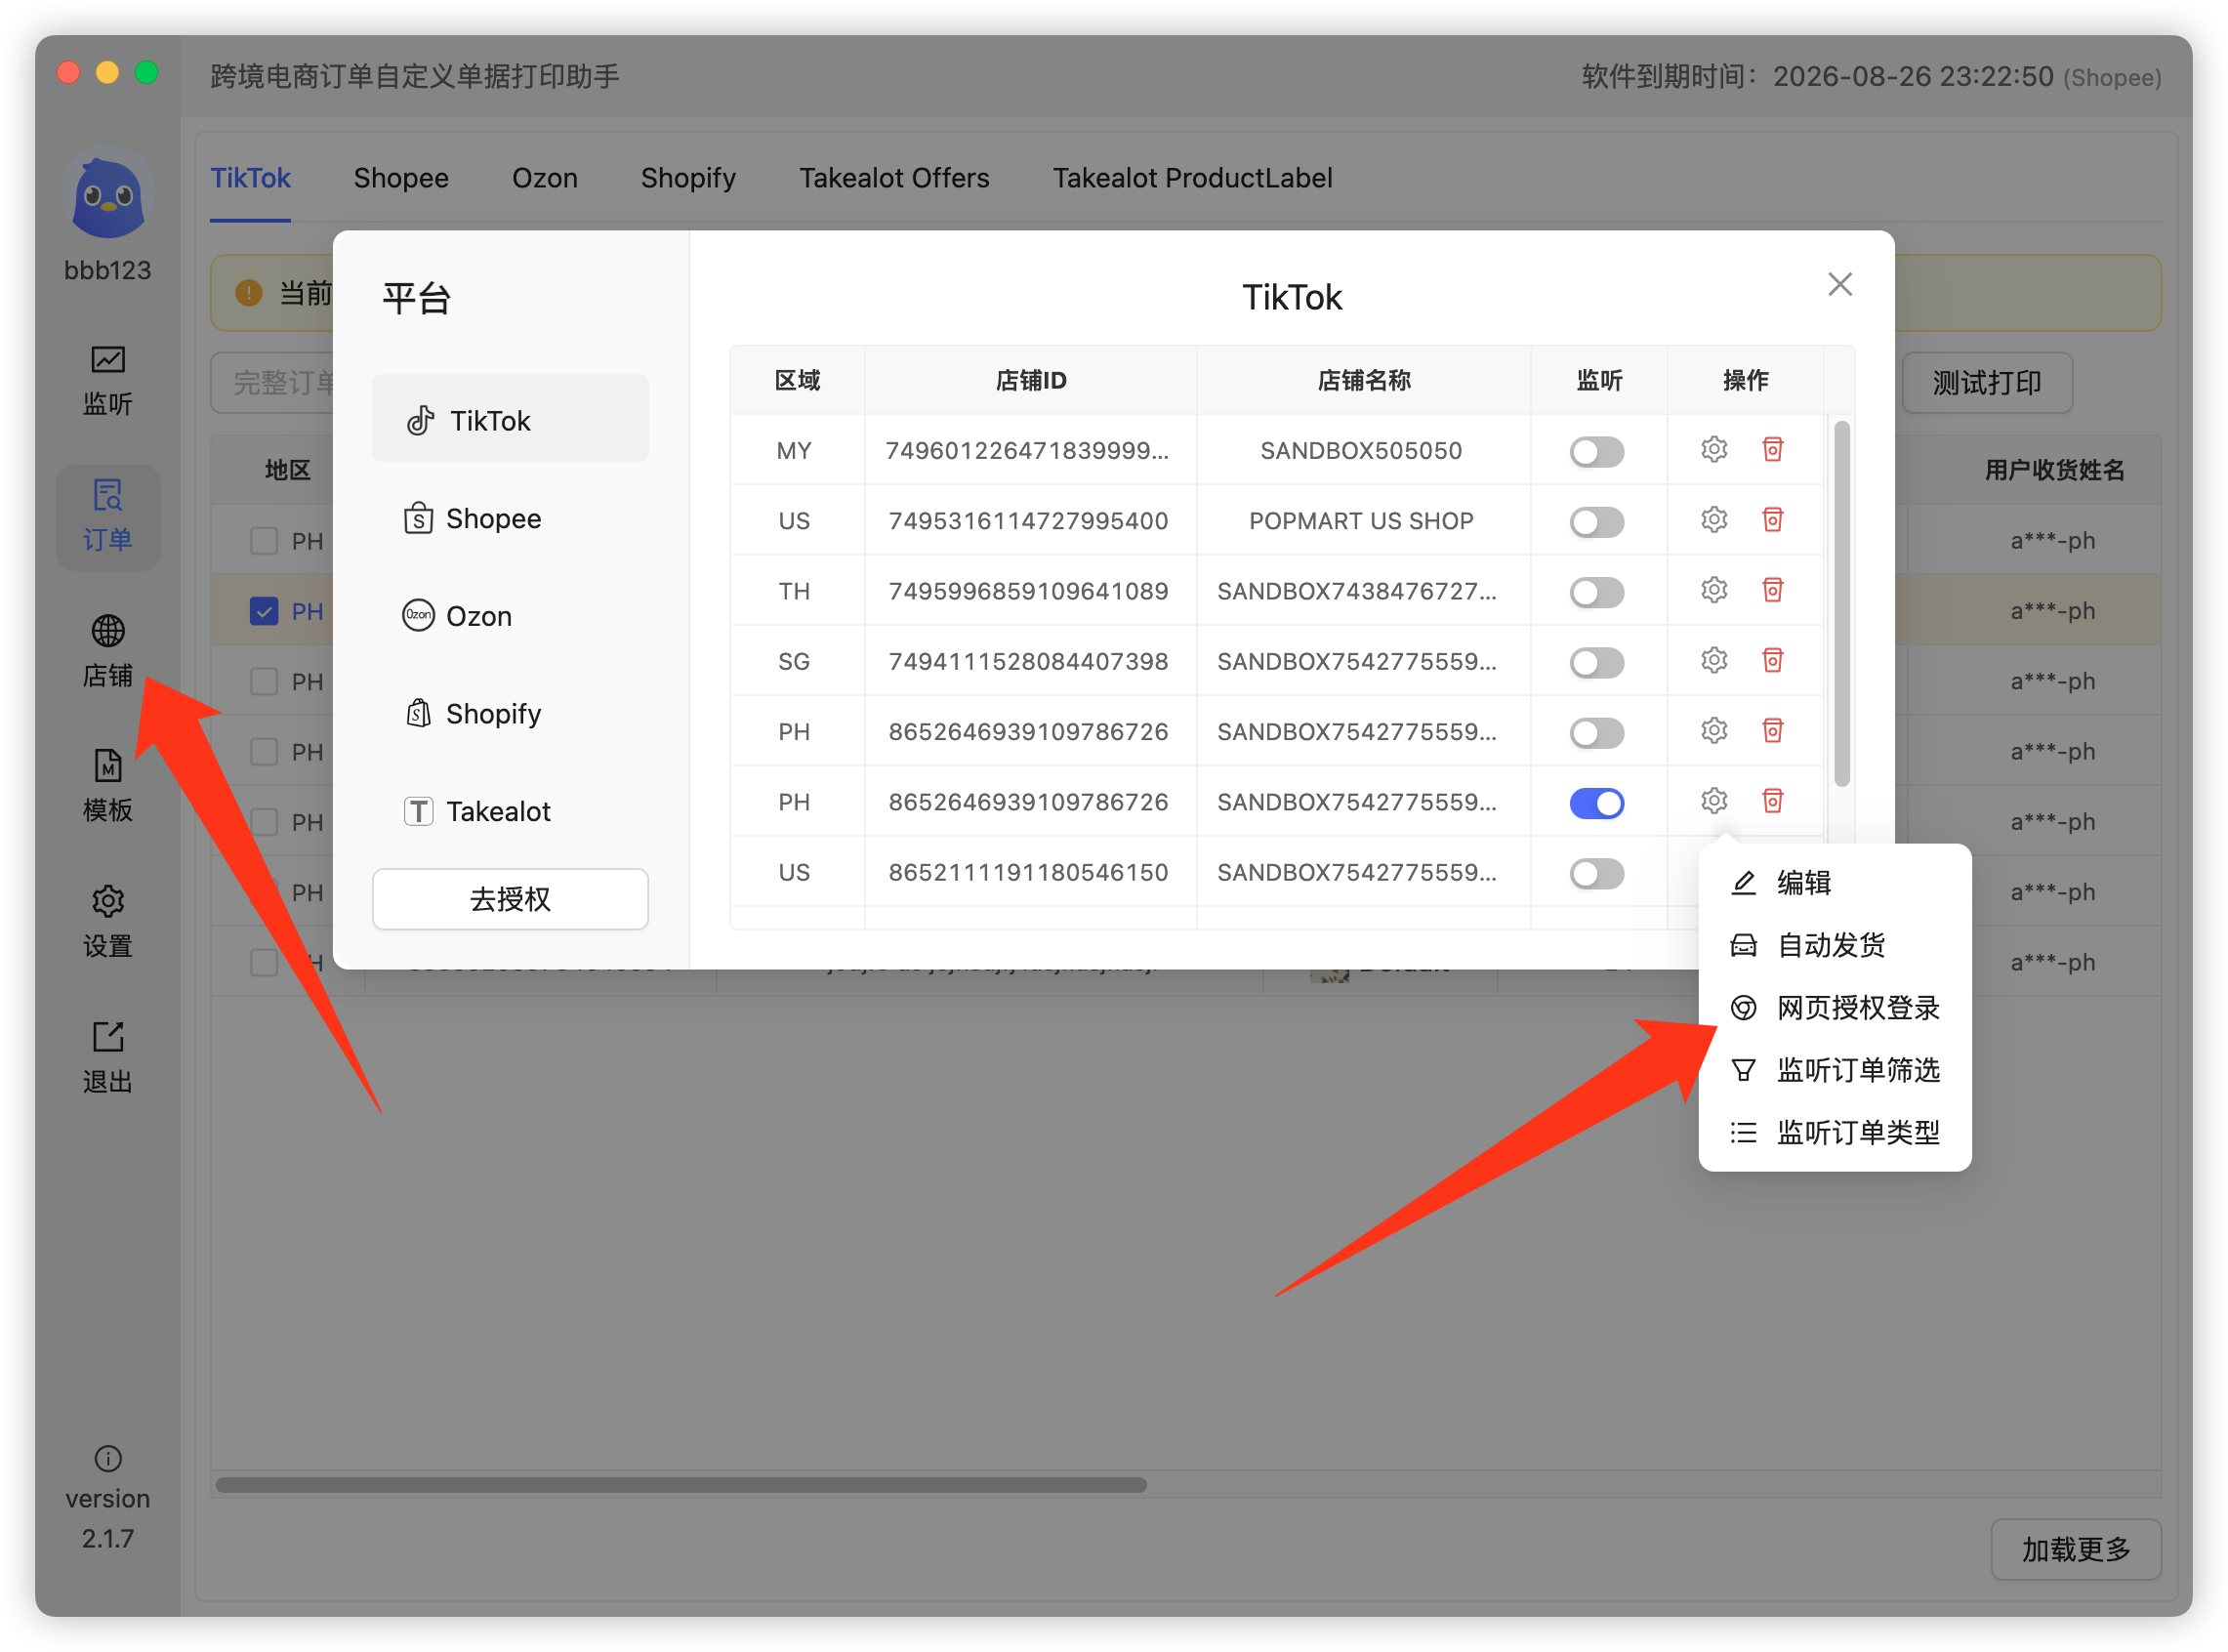
- In the store settings, open Web Authorization and choose the Chrome method;
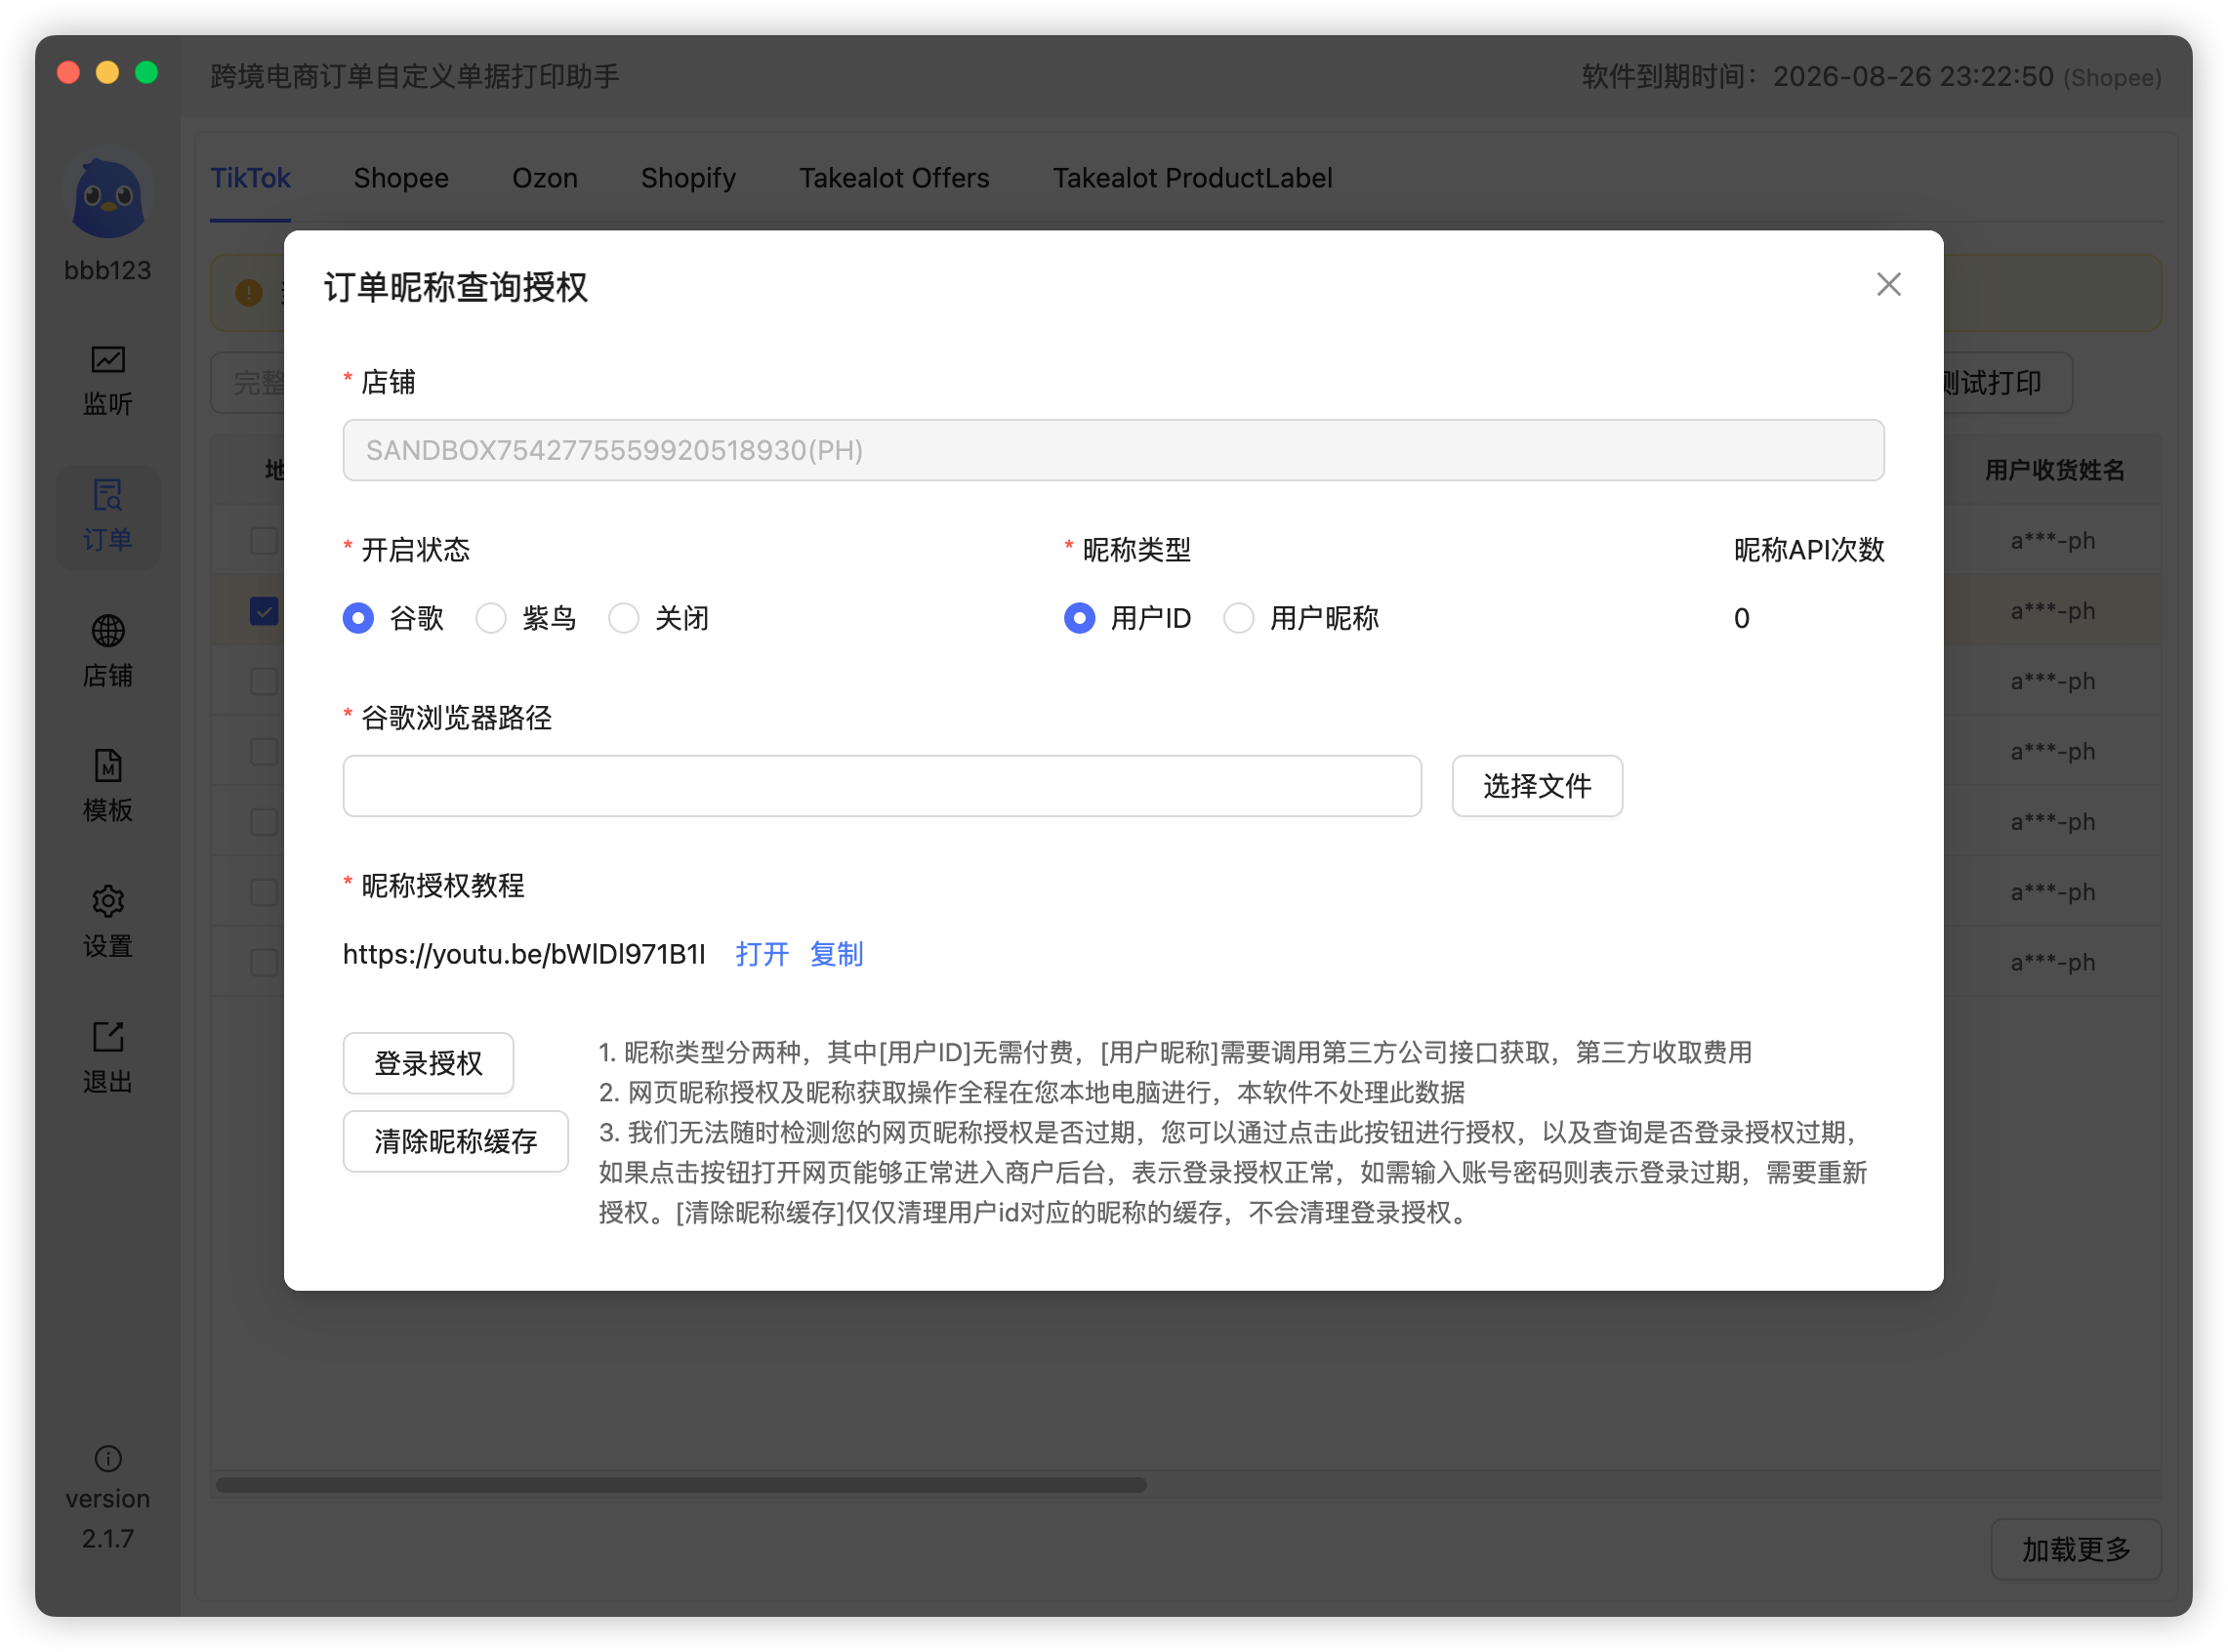
- Fill in the correct Chrome path:
- Windows (typical):
C:\Program Files\Google\Chrome\Application\chrome.exe - macOS: append
/Contents/MacOS/Google Chrometo the app path, e.g./Applications/Google Chrome.app/Contents/MacOS/Google Chrome
- Windows (typical):
- Click Login authorization — Chrome pops up;
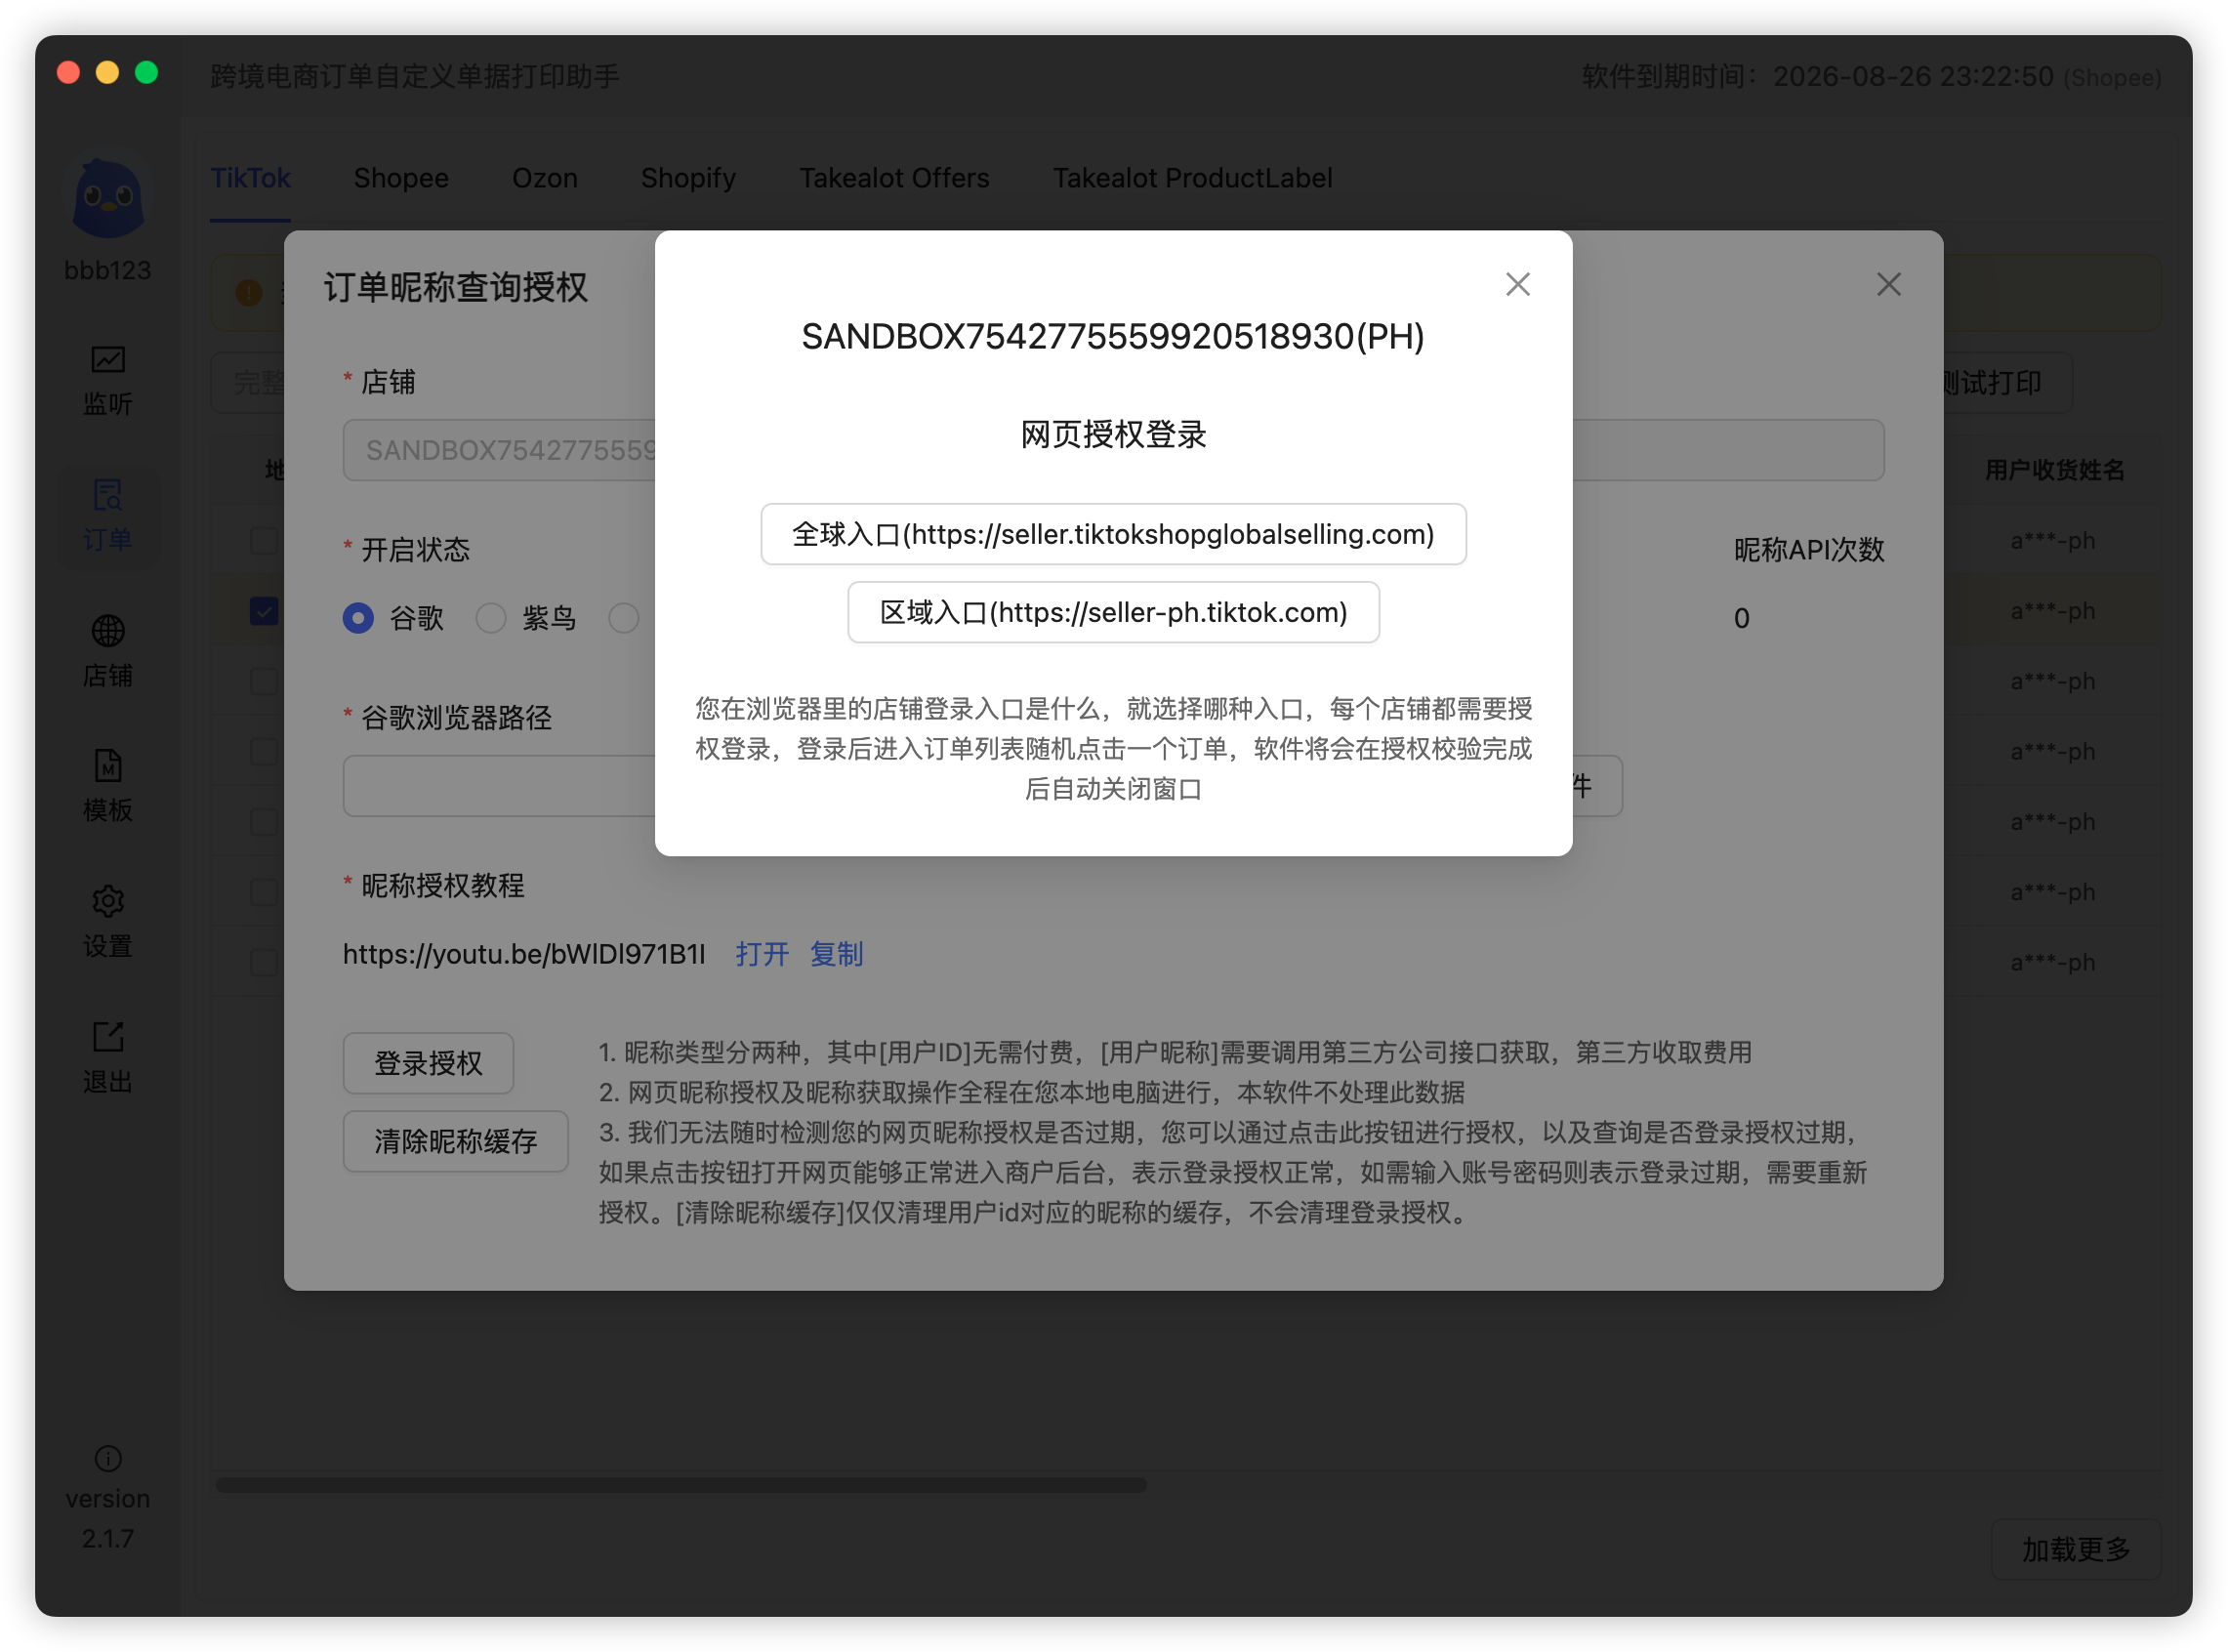
- Log in to your store in that browser; once you can reach the store homepage, close it;
- Back in the app, search and print an order on the Orders page to verify the nickname.
Video demo (older UI, use together with the steps above): https://youtu.be/bWlDl971B1I
Tip: this method may lose the login state — if nicknames stop appearing, click Login authorization again and re-login if needed.
Method 2: Ziniao (SuperBrowser) authorization
We recommend running Ziniao and the app inside a Windows virtual machine (prepare your own VM environment) to avoid the forced popups; skip the VM if you don't mind them.
- With your Ziniao master account, enable the WebDriver permission on the Ziniao open platform (see the official doc);
- Prepare a Ziniao sub-account dedicated to the app (nobody else should use it) and link all TikTok stores that need nicknames to it;
- Log in with the sub-account yourself first to confirm stores auto-login properly;
- In the app: Stores → any store's settings → Web Authorization → choose Ziniao;
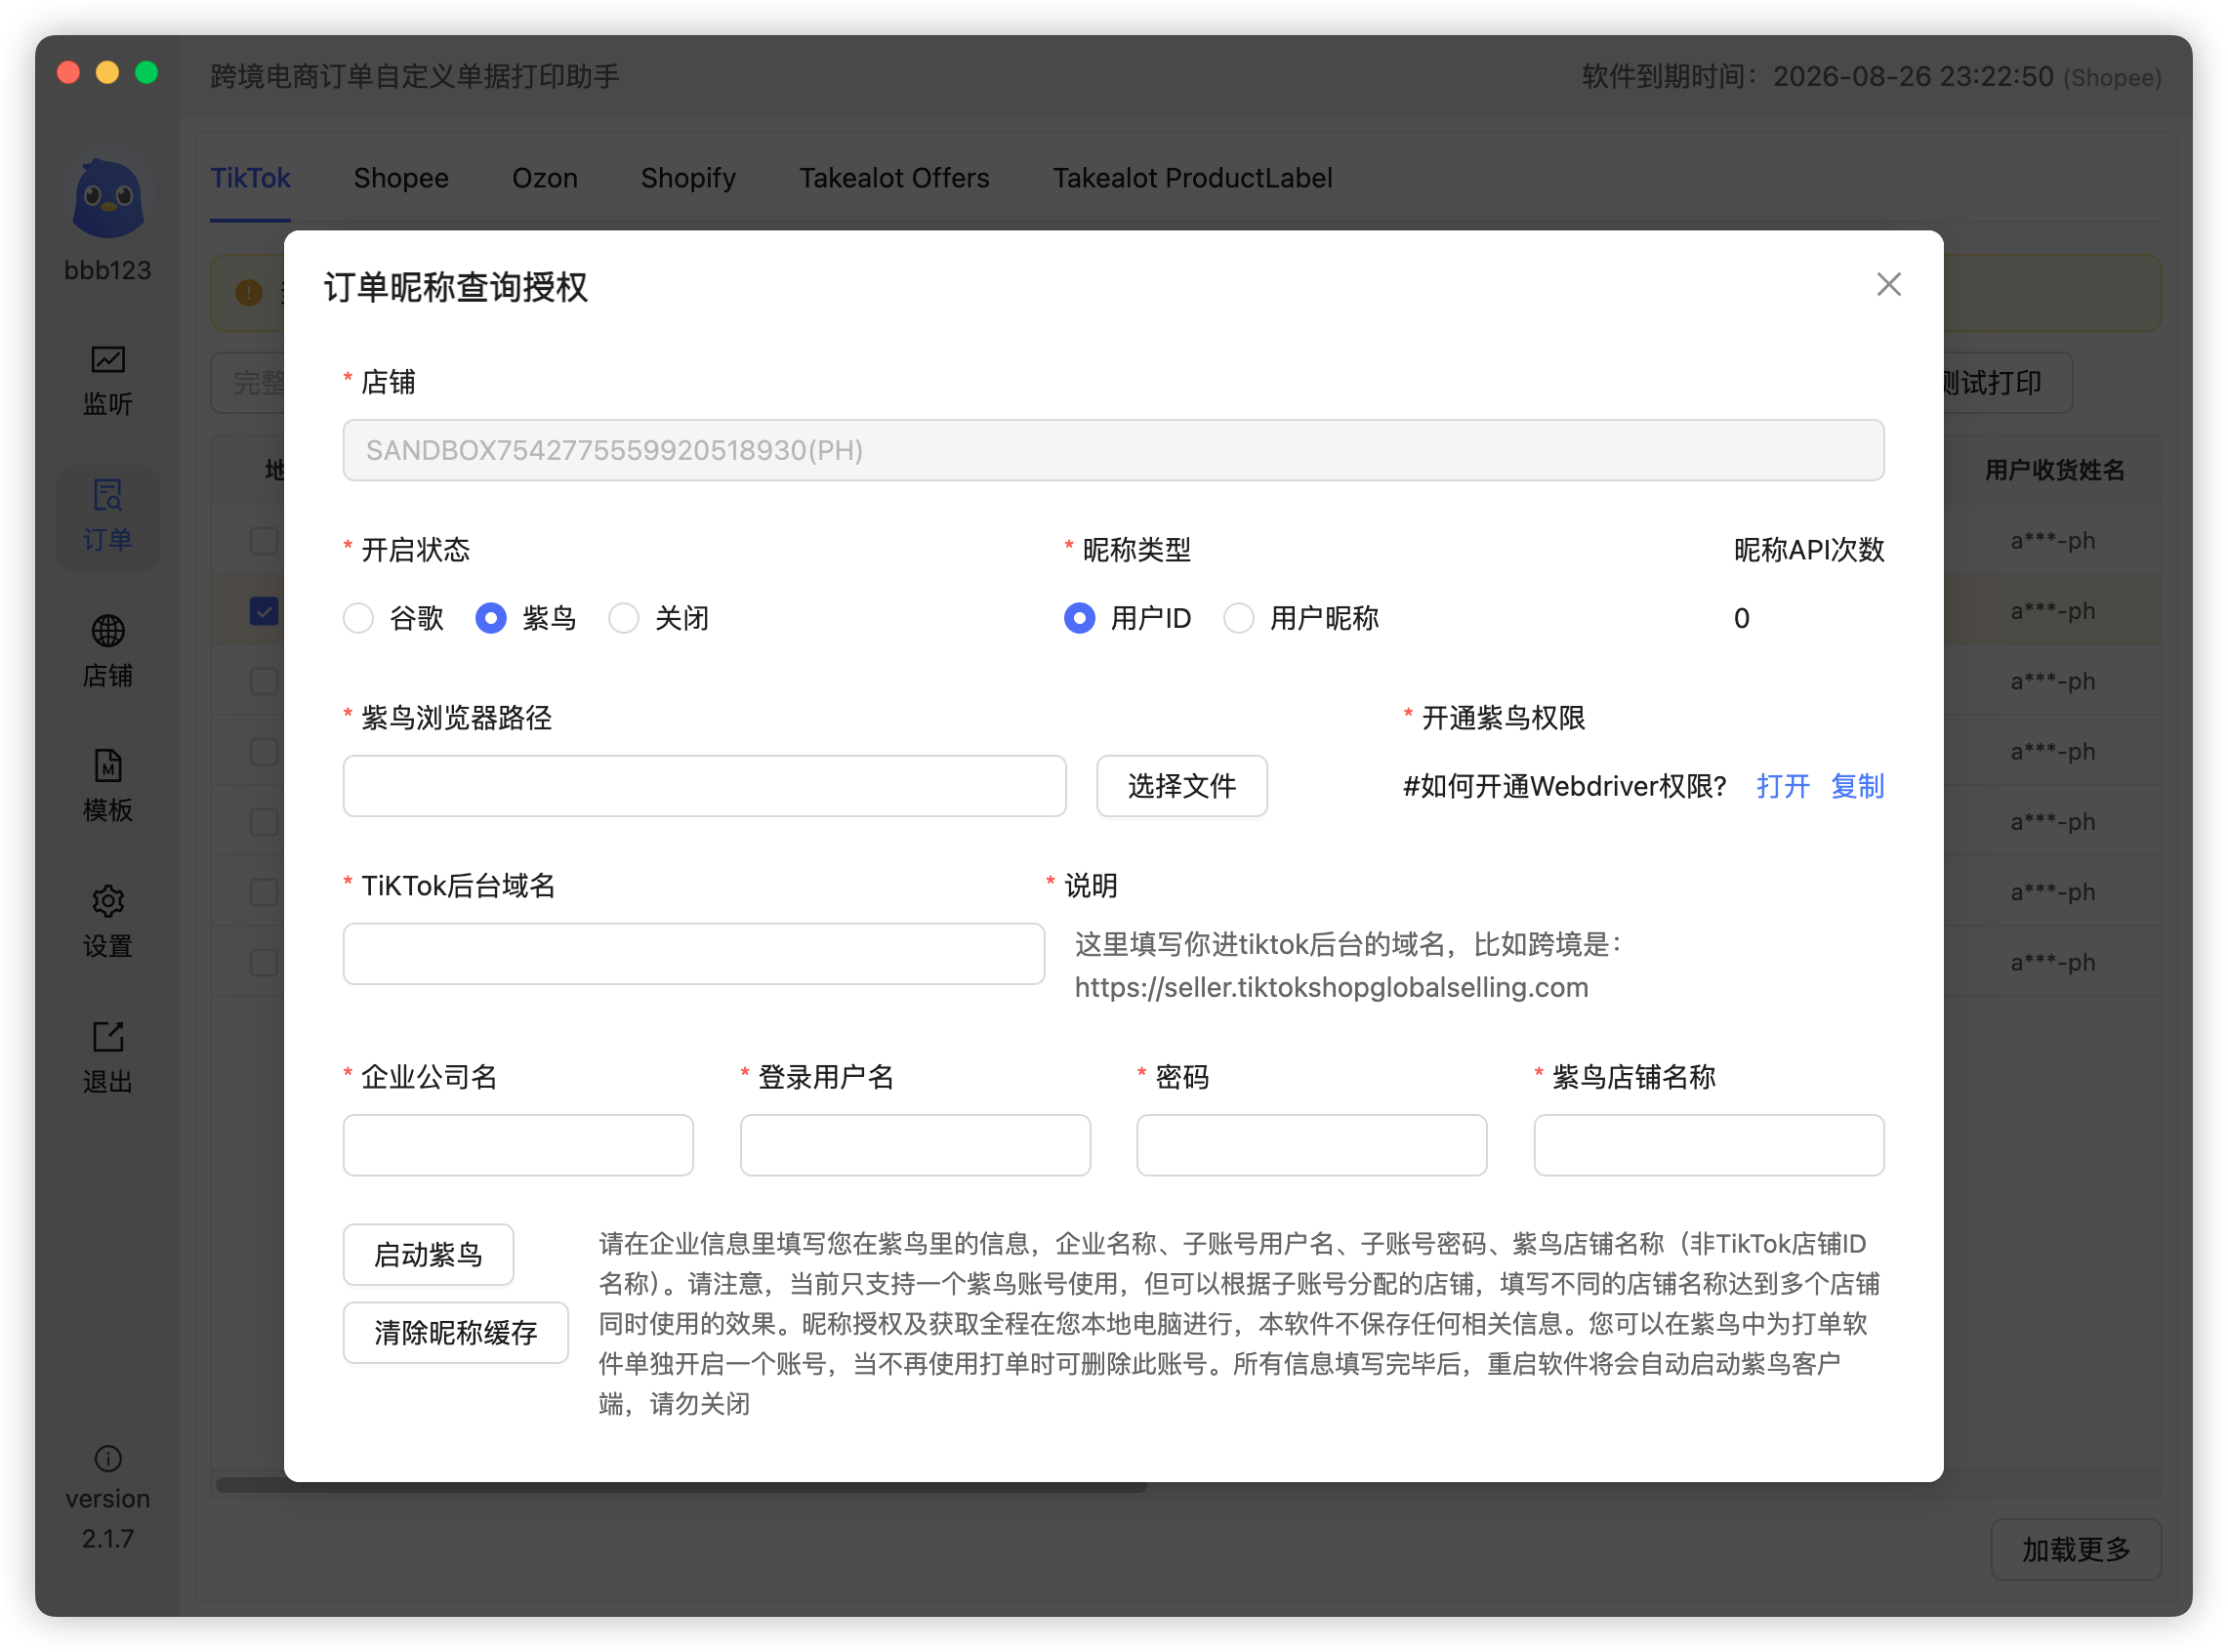
- Select or fill in the Ziniao browser executable path (copy it from the desktop shortcut);
- Enter your Ziniao company name, sub-account and password;
- For each store in the app, fill in the matching Ziniao store name (one per store);
- Restart the app — it will automatically launch Ziniao;
- Once Ziniao is up, print an order to test the nickname.
Method 3: Browser Extension authorization
1. Install on Chrome / Edge
- Download the extension package, unzip it to get
ch-chrome-tk-plugins.zip, then unzip that into ach-chrome-tk-pluginsfolder; - Open
chrome://extensions/and enable Developer mode (top right);
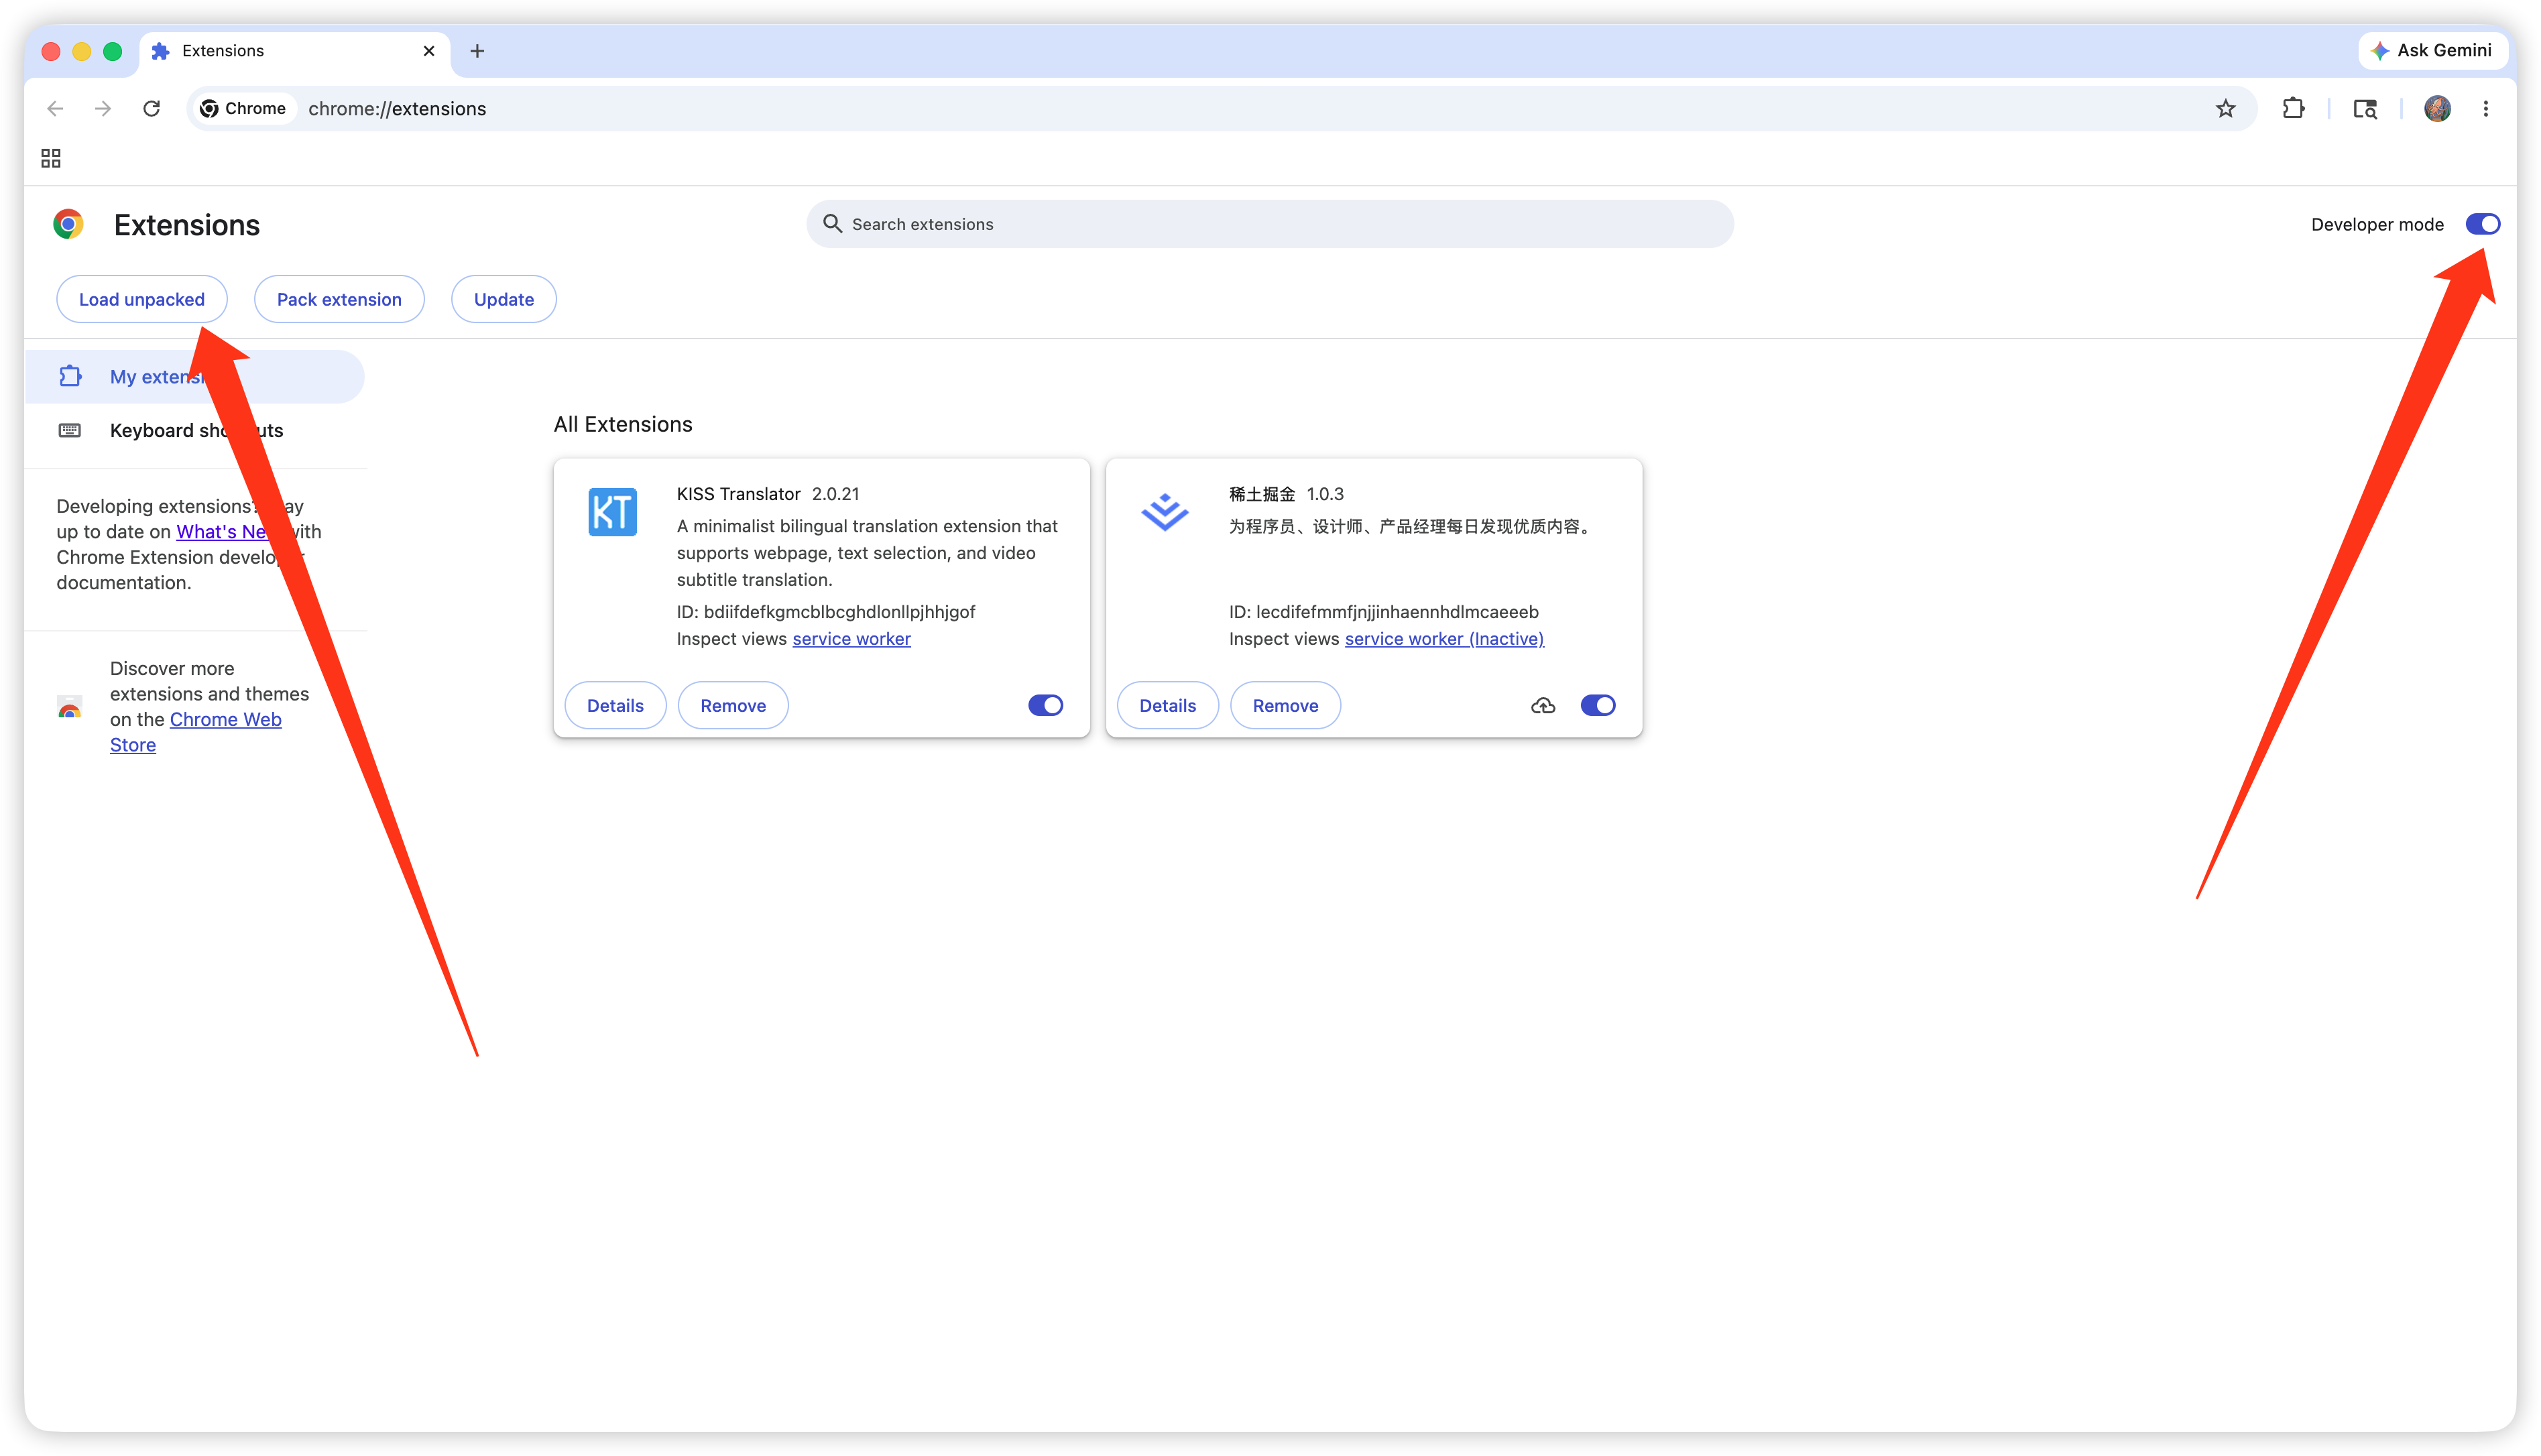
- Click Load unpacked and select the
ch-chrome-tk-pluginsfolder; - If it fails: open
chrome://flags/#extensions-on-chrome-urls, set it to Enabled, restart the browser and retry. Edge shares the same engine — the steps are nearly identical.
2. Install on Ziniao
- Log in to Ziniao with the Boss account, create a seller self-developed plugin on the Ziniao open platform (see doc) and upload the same
ch-chrome-tk-plugins.zip; - Go to "Ziniao management → App management", open the plugin's Configuration, click Assign accounts and assign every store account that needs the extension (see doc);
- In Ziniao → Accounts, pick the store account → Account details → Browser environment → Configure → Advanced → enable Port protection with port
9527, then save;
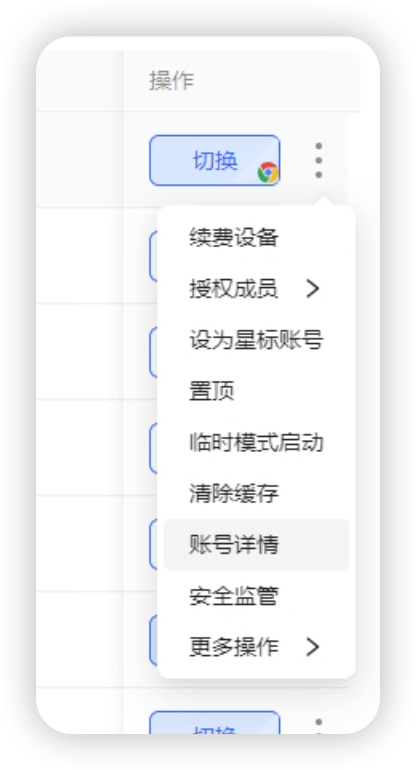
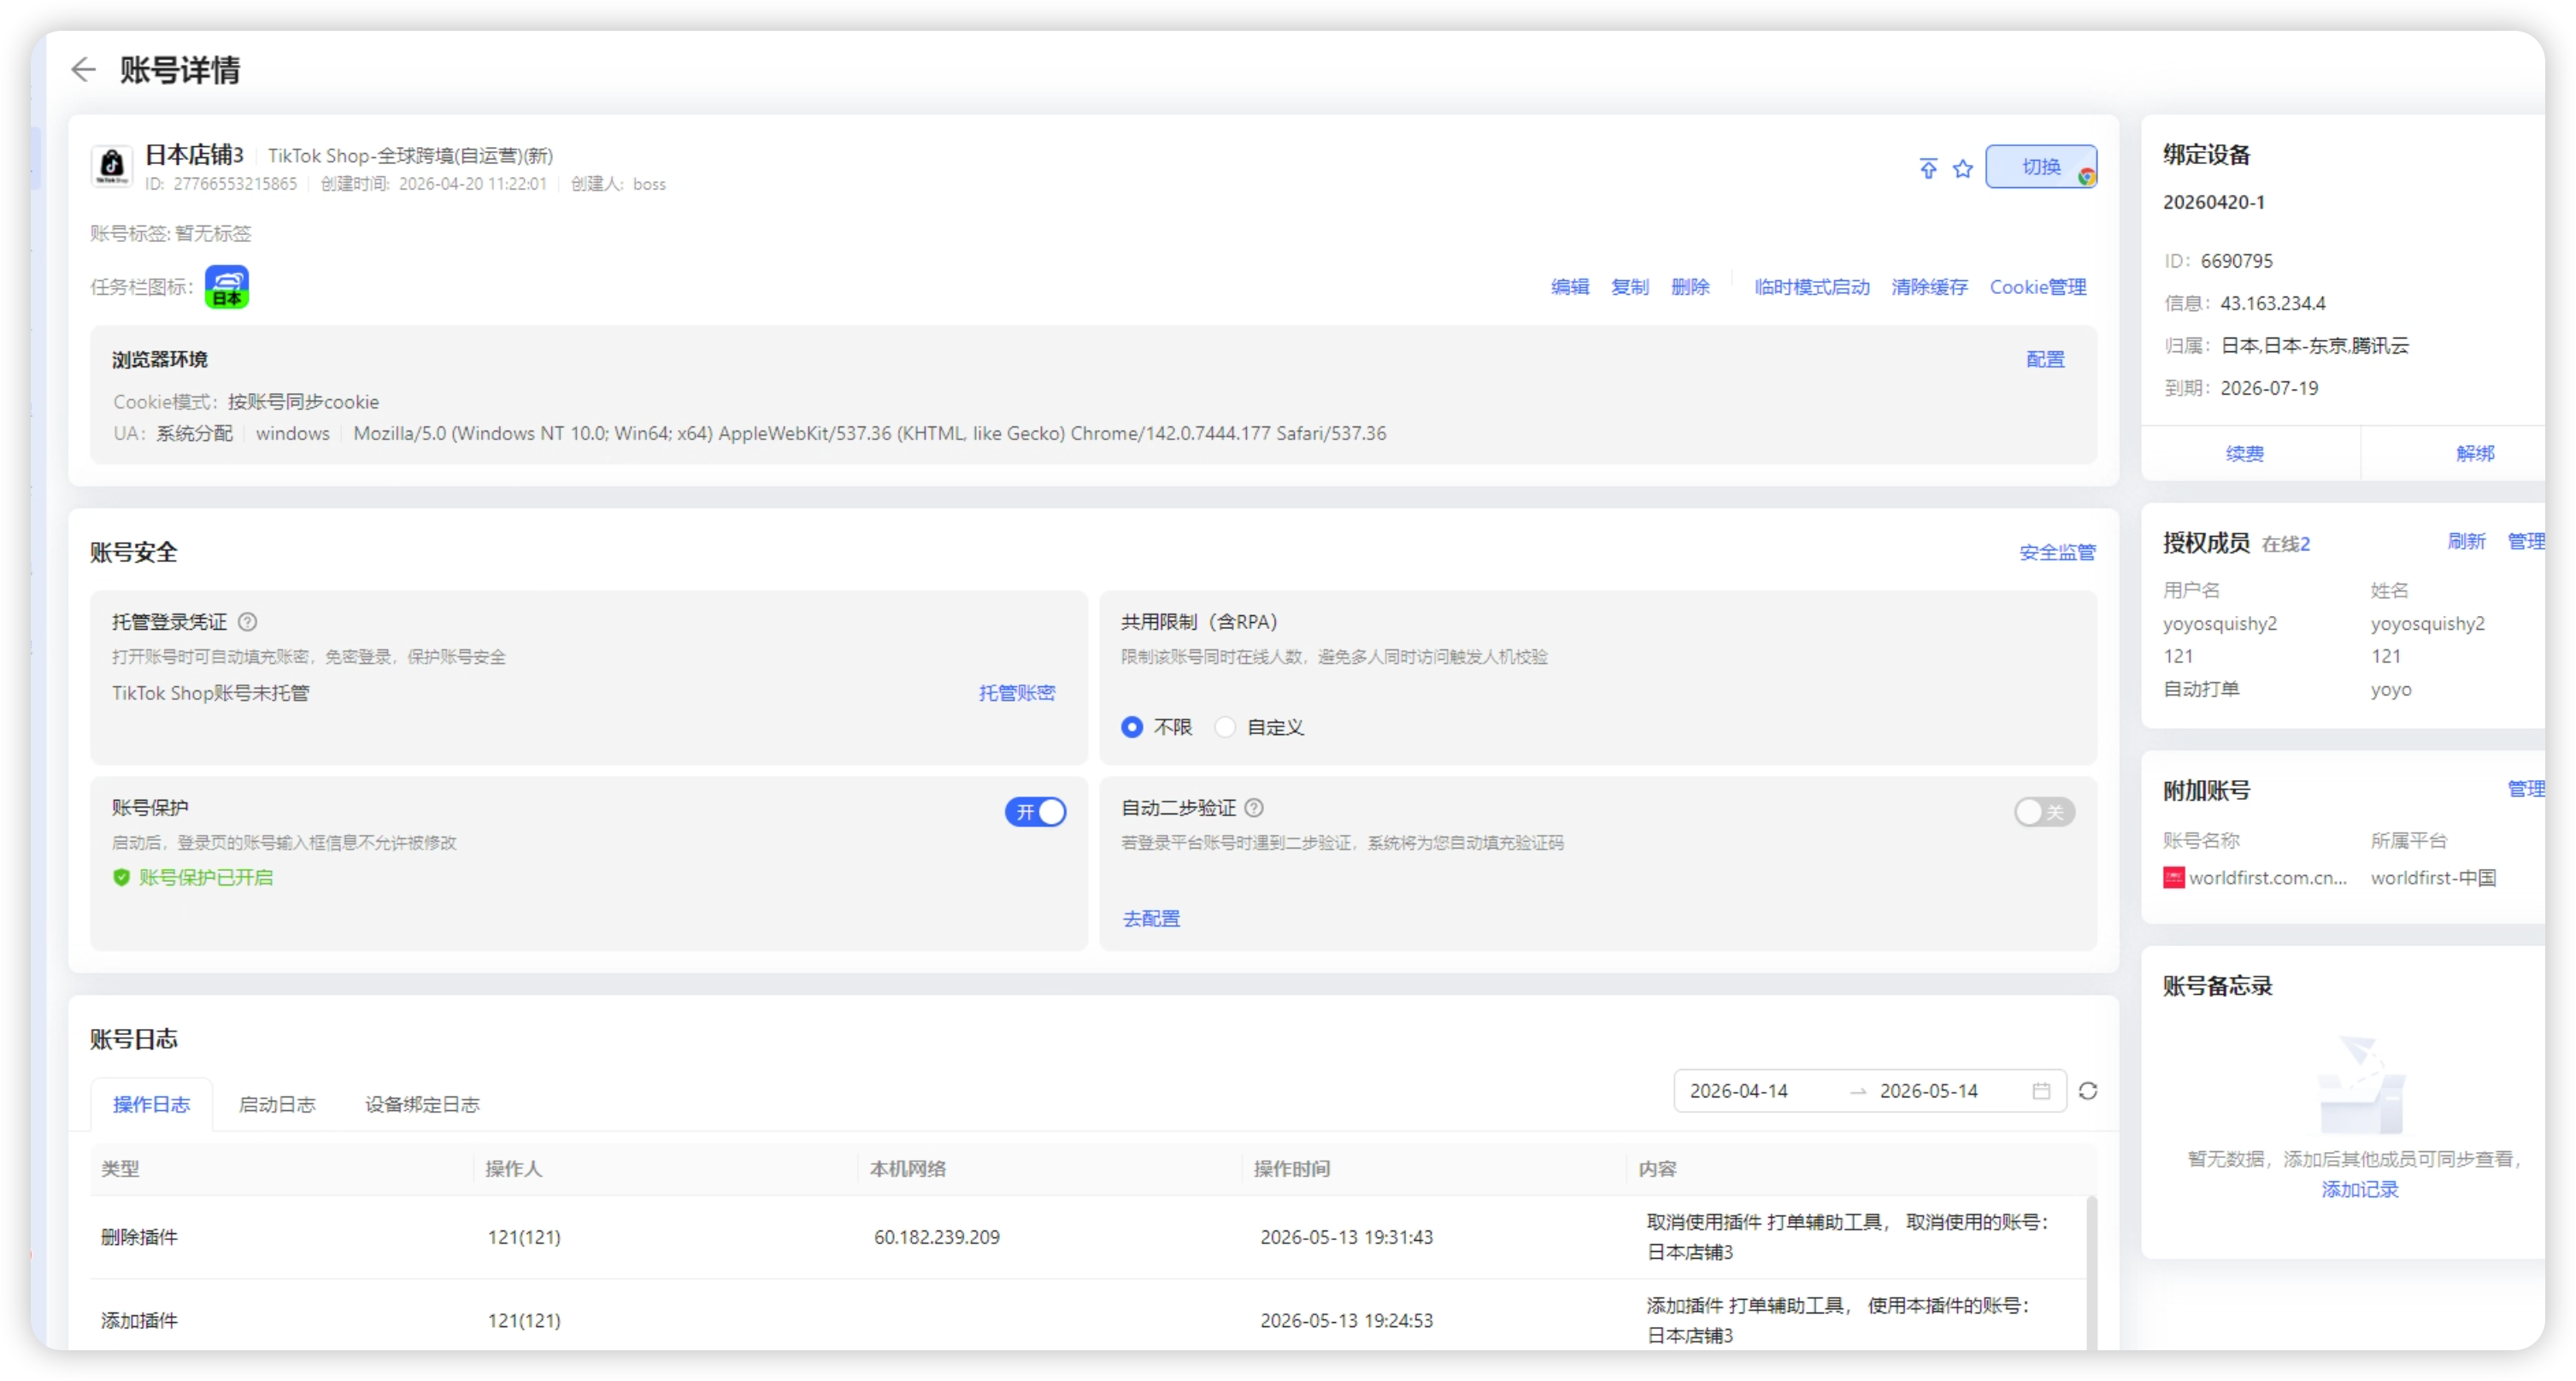
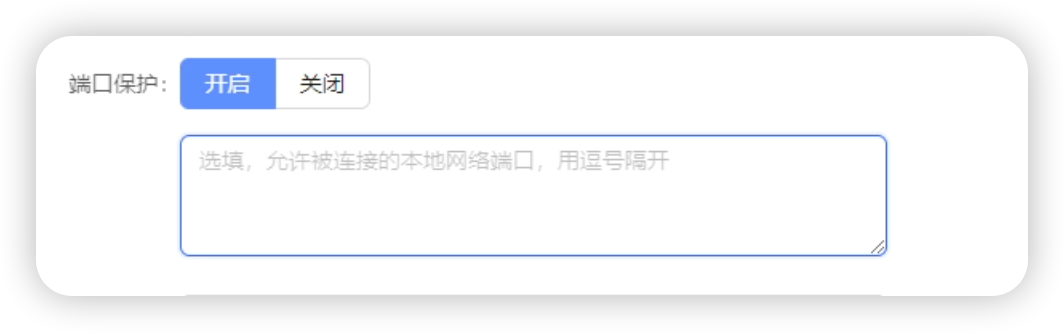
- Log in to Ziniao with the configured account and open a store — you'll see "CH Print Helper" among the extensions.
3. Configure after installation (all browsers)
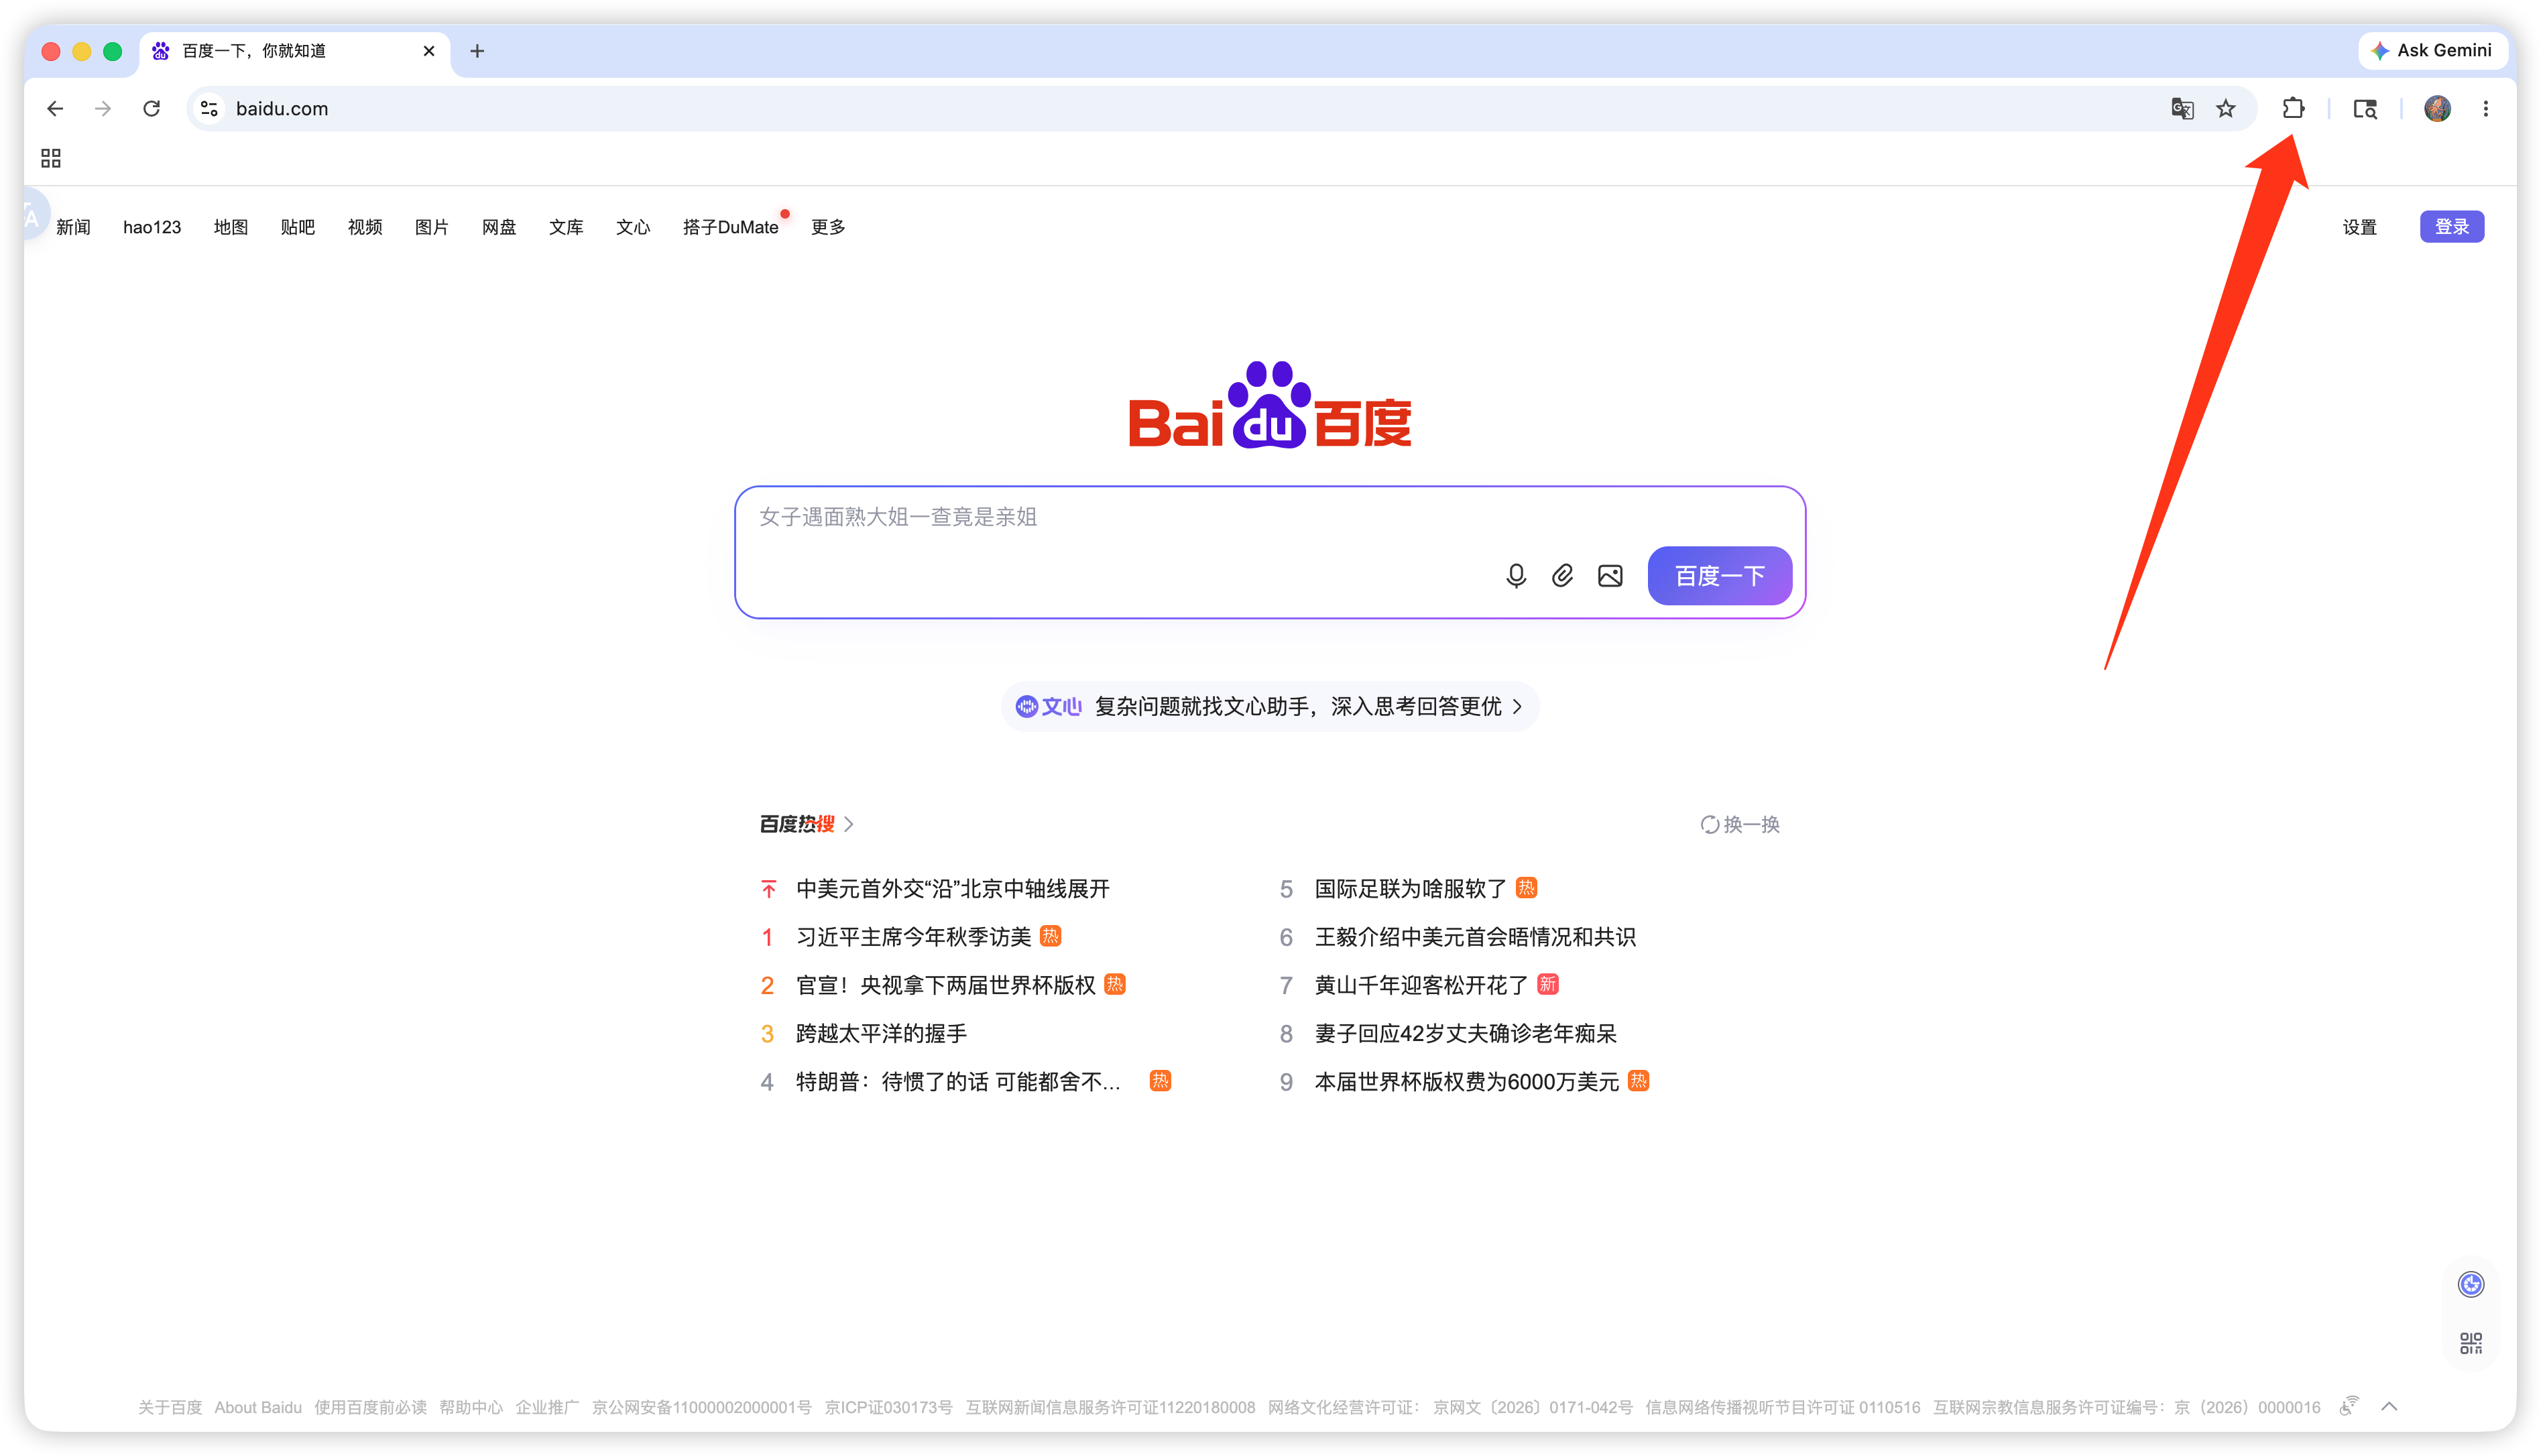
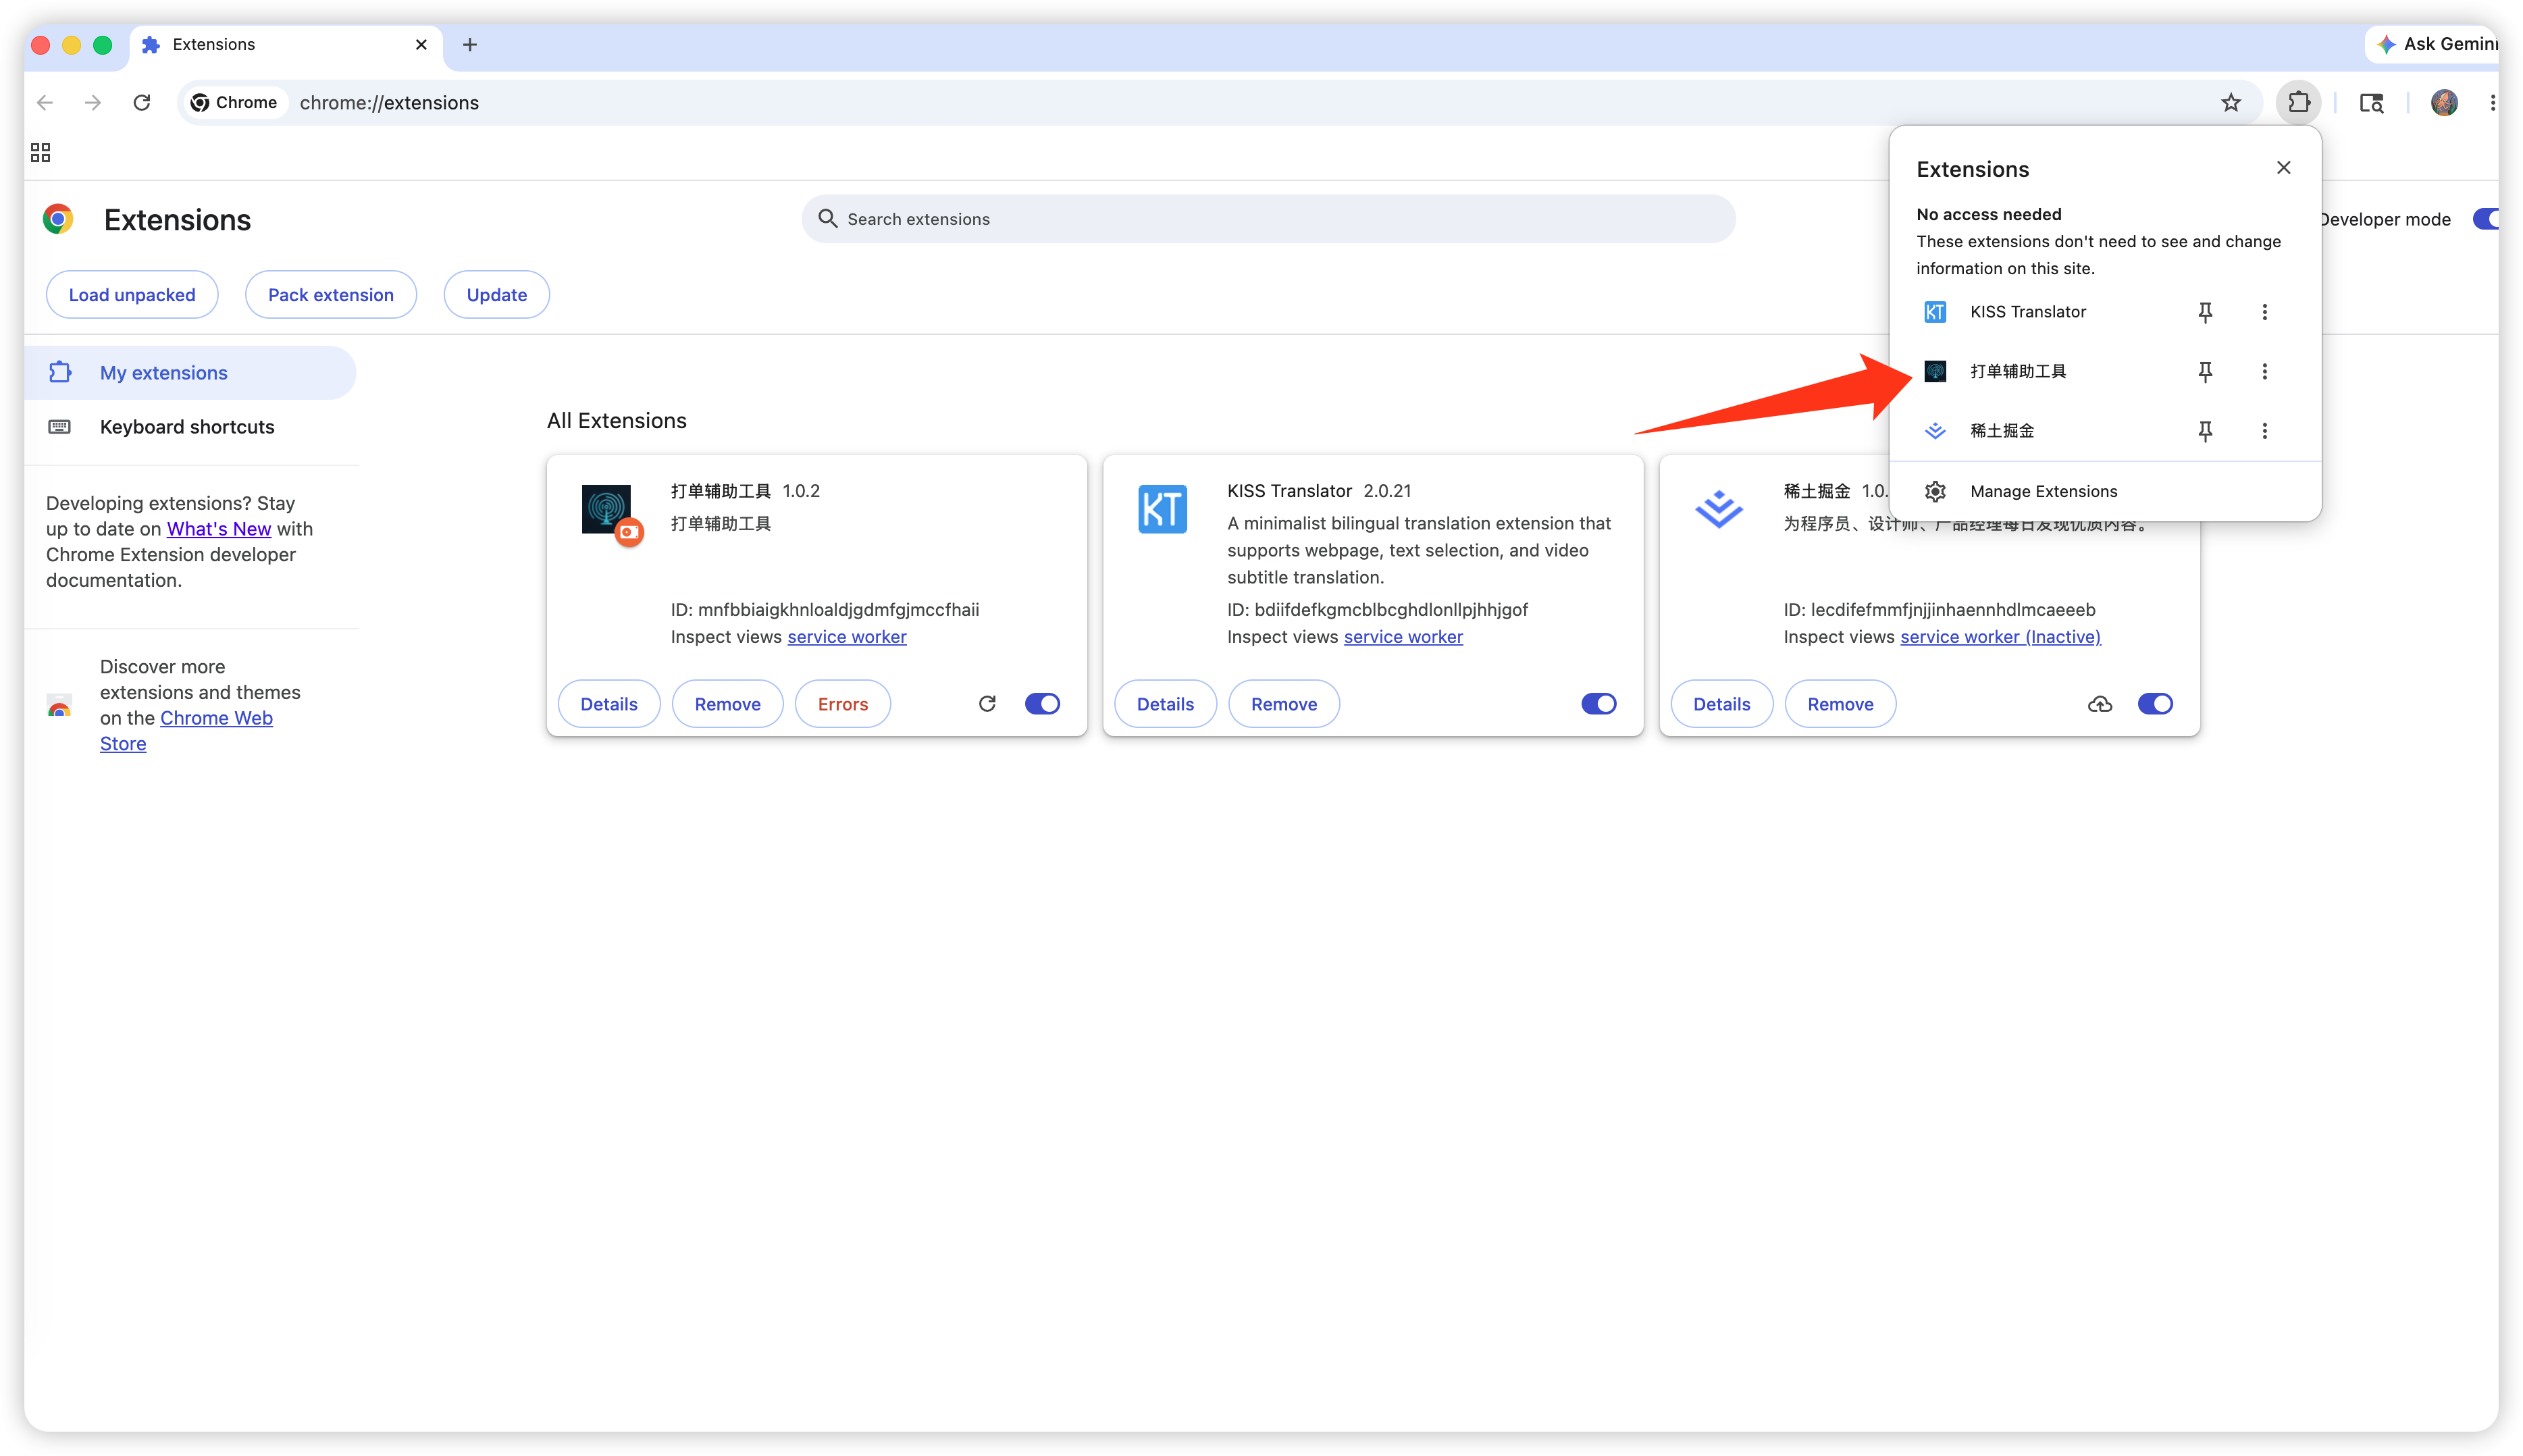
- Click the extensions icon at the right of the address bar, then click "CH Print Helper";
- "WebSocket address" can be left empty. In the "Store ID" box, enter the store IDs already logged in on this browser (one per line). Copy the store ID from the app: Stores → Settings → Web Authorization → the Extension option;
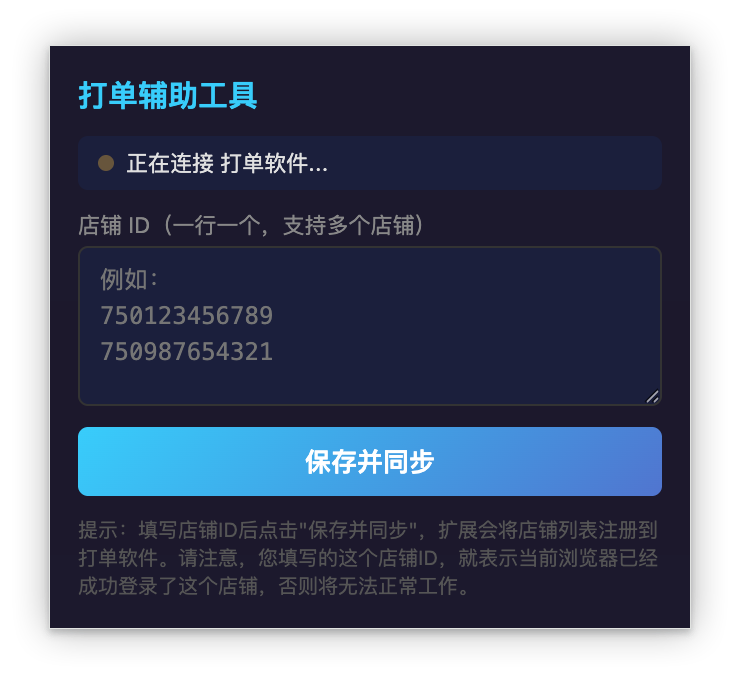
- Click Save & Sync;
- Back in the app at the same place, enter your seller-center domain, e.g.
https://seller-jp.tiktok.comorhttps://seller.tiktokshopglobalselling.com(no trailing slash); - Confirm it shows Connected, then print an order to test.
 Or email us: